Travel plans can fall apart for all kinds of reasons—mechanical issues, bad weather, or simple human error. This time, it was the latter. And for the first time, that error was mine.
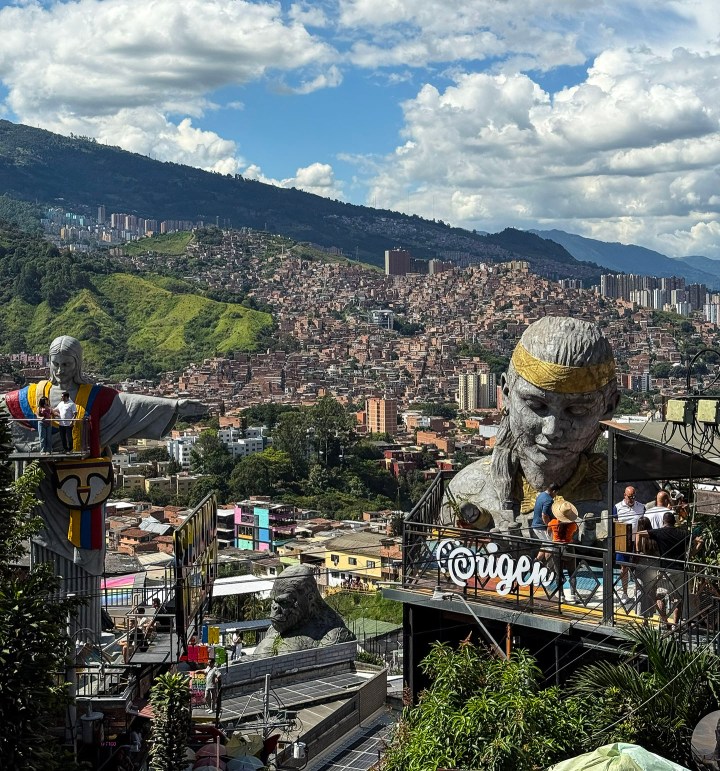
After a brief stay in Colombia, my family and I were scheduled to fly from Medellín to Aruba with a short layover in Panama on Copa Airlines. I checked in on the Copa app without any issues and even had mobile boarding passes for everyone in my travel party. The app noted that documents would be checked and verified at the airport, but it didn’t specify which ones. I assumed it meant our passports and any visa requirements—knowing that U.S. travelers don’t need a visa for Aruba.
When we arrived at the airport, the check-in agent asked for proof of yellow fever vaccination. I told her we were from the U.S. and had only been in Colombia for four days—all of which were spent in Medellín, a city considered low risk for yellow fever. She calmly informed me that Colombia as a whole is classified as a high-risk yellow fever country, and anyone who has spent time there—even briefly—is required to show proof of vaccination to enter Aruba.
That’s when it hit me—I really messed this up. The agent was absolutely right. I had completely forgotten that even short stays in a high-risk country trigger the vaccination requirement, regardless of your citizenship. And even if I’d gotten vaccinated that morning—it was only 6:30 a.m.—it wouldn’t have helped. The yellow fever vaccine must be administered at least ten days before travel, which is the standard requirement for nearly all countries.
Even our layover in Panama posed a problem. The agent mentioned that Panama has, in the past, enforced the yellow fever requirement for passengers simply transiting through from Colombia.
At one point, I considered flying directly from Medellín to a U.S. city, staying there for six days, and then continuing on to Aruba. Upon digging further, I found that Aruba does allow entry without proof of vaccination if a traveler has spent at least six consecutive days in a non-risk country after visiting a high-risk one and has not developed symptoms of yellow fever during that time. But with our timeline, this wasn’t an option. And I wasn’t about to skirt any rules to make it happen.
Since our entire itinerary was booked on Copa, and all Copa flights to the U.S. transit through Panama, we couldn’t get back to the U.S. on that airline. The best we could hope for was for Copa to cancel the tickets and issue credit—which they did, although I’ll have to pay $75 per ticket to use the $1,400 in credit. The tickets were booked using Chase Ultimate Rewards points, but Copa treats those bookings as cash fares.
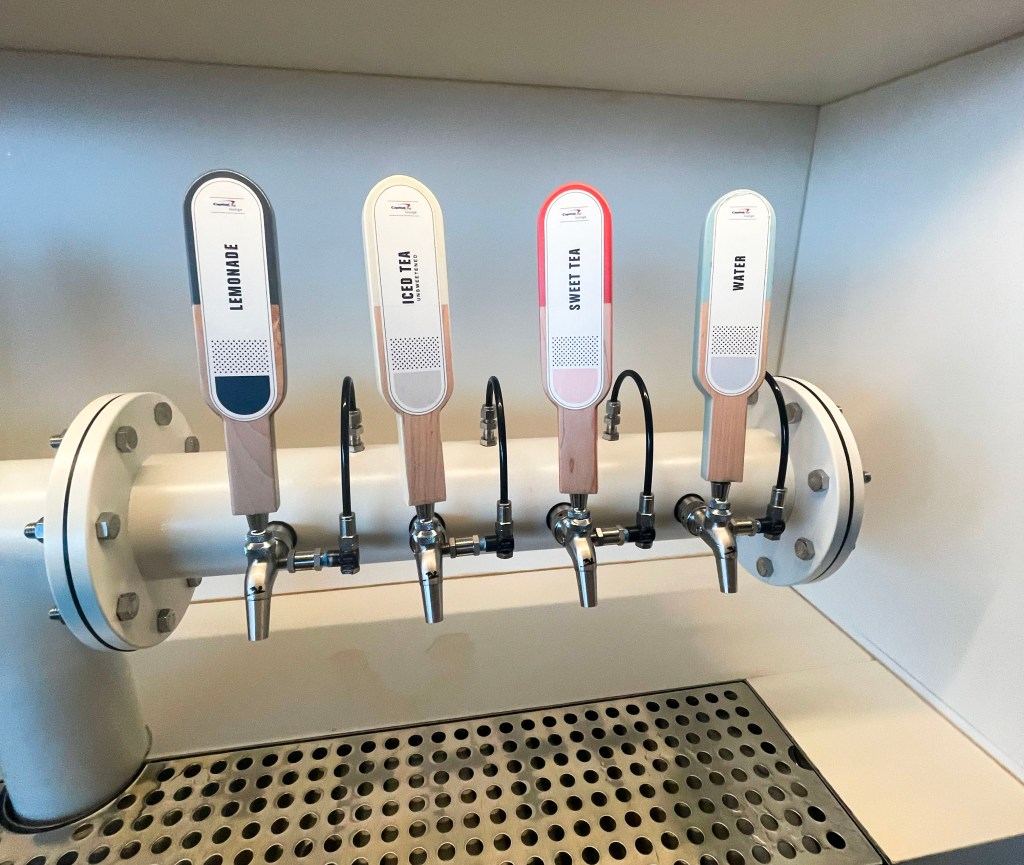
Thankfully, Medellín has several nonstop flights to the U.S., and Miami made the most sense—it allowed us to visit family and still gave the kids their much-anticipated beach time. We used American Airlines miles to book a one-way flight to Miami departing at 1:30 p.m. I also called Choice Hotels, and to their credit, they were extremely understanding. They refunded the points I used to book the Radisson Blu Aruba without charging a fee to reinstate them. A massive shoutout to their customer service team—they didn’t have to do that, and many programs would have forfeited the points for a missed first night.
I don’t blame Copa Airlines for my mistake, but it would’ve been helpful if their system reminded travelers of entry requirements—especially for vaccinations—when booking or checking in. Maybe I became too comfortable during the COVID travel era, when we were constantly reminded of requirements for testing and vaccines.
One of the more surprising parts of this experience happened shortly after I walked away from the check-in counter. About 10 minutes later, a man approached me and asked—via Google Translate—if I needed a yellow fever vaccine. I have no idea how he knew, but I suspect he was somehow connected to someone at the Copa counter. He offered to get vaccine paperwork for my whole family for $50. I declined and told him we were heading back to the U.S. I strongly advise against going down that route. Faking health documents can get you banned for life—or worse, arrested in a foreign country. It’s not worth the risk.
As a pharmacist who regularly counsels patients on international travel vaccines, there’s definitely some embarrassment in having overlooked such a simple, but critical, requirement. Let this be a lesson: even if you’re an American and your trip started in the U.S., once you enter a high-risk country—even for a few days—you are subject to the destination country’s health regulations. Always do your homework before booking travel to a second country.
The point of this website is to help people travel smarter, and that includes sharing when things go completely wrong. If this experience helps even one person avoid the same mistake, it’s worth telling.
Lastly, I want to acknowledge how fortunate we are. In the broader context of what’s happening around the world, this was a classic “first-world problem.” It’s a privilege to even have travel plans fall apart. If this is the worst thing we have to deal with, we’re still incredibly lucky.