Maui was the first of two islands my wife and I visited during this trip to Hawaii. The second island we visited was Kauai, which you can read about here. Our last trip to Hawaii (Feb 2019) covered The Big Island, and if you are interested in reading about our time there, you can do so here. Maui, also known as the Valley Isle, is the second largest island in Hawaii and has endless beauty. Our three days didn’t cover everything, but it covered most of the main attractions. We had seven days in Hawaii (the first day was more like a half day), three of which we spent in Maui and four in Kauai. The question a lot of people ask is if 3 days is enough to see most of the main sights in Maui. It was enough for us for two reasons: First, we woke up at dawn and started our day early. This is absolutely crucial. It’ll be difficult if you’re not in your car by 8 a.m. daily. The weather was the second thing out of our control, but it worked in our favor. We had sunshine all 3 days, and that’s just us gambling on great weather for 3 days and getting lucky. Ideally, you want to have one or two extra days as a buffer for rain.
How We Got There
You’ll probably notice a trend with just about every itinerary I post. We rarely use cash to reach our destination, and this trip was no different. Remember that my wife and I have schedules that mostly allow us to take these trips during peak travel season. This trip to Hawaii happened to be during the last 9 days of December, which is high season in Hawaii. Likewise, the number of miles airlines require to get to Hawaii is double that of most cities. United usually charges 22.5k miles a person one-way to get to Maui. That redemption rate from Chicago, Newark, and D.C. was 45k miles per person one-way. Fortunately, Denver still had the saver award redemption at 22.5k miles, so we decided to spend two days there (we had never visited Denver) and depart to Maui from Denver International Airport.
Arrival
Even though this was technically our first day, we arrived too late to do anything significant. Our flight to Maui arrived at 4:35 p.m., and by the time we deplaned, got our bags, and picked up our rental car, it was close to 5:45pm. At this point, we only had about 15 minutes of daylight left. We checked into our hotel, the Napili Shores by Outrigger, ate an early dinner, and decided to sleep at 8pm. The next day was going to be very long.
Day One: Haleakala National Park & Papawai Scenic Lookout
If you’re visiting Maui, you simply can’t leave without witnessing the sunrise at Haleakala National Park. It can’t be replicated elsewhere, and it’s magical. The ideal day is when a layer of clouds below you allows the sun to rise above that layer. Sometimes, it can get cloudy enough that there is little to no visibility, and that’s the type of day you want to avoid. Your best bet is to keep an eye on the weather. You must pay $25 per car at the entrance and make a reservation for $1.50 if you go there at sunrise. The ticket for the sunrise is valid for three days and can be purchased up to 60 days in advance. My wife and I got there 2 hours before sunrise to ensure a good parking spot. You should aim to get there no later than an hour before sunrise, or the desirable parking spots and viewing areas will fill up quickly. It’s a relatively slow 45-minute with steep curves and hairpin turns after hairpin turns. It requires your full attention, and if you’re the type that gets distracted by a cell phone easily while driving, turn it off until you’re at the top. If you run into fog, it can get a little challenging, but fortunately for us, it was clear all the way through during our drive to the top.
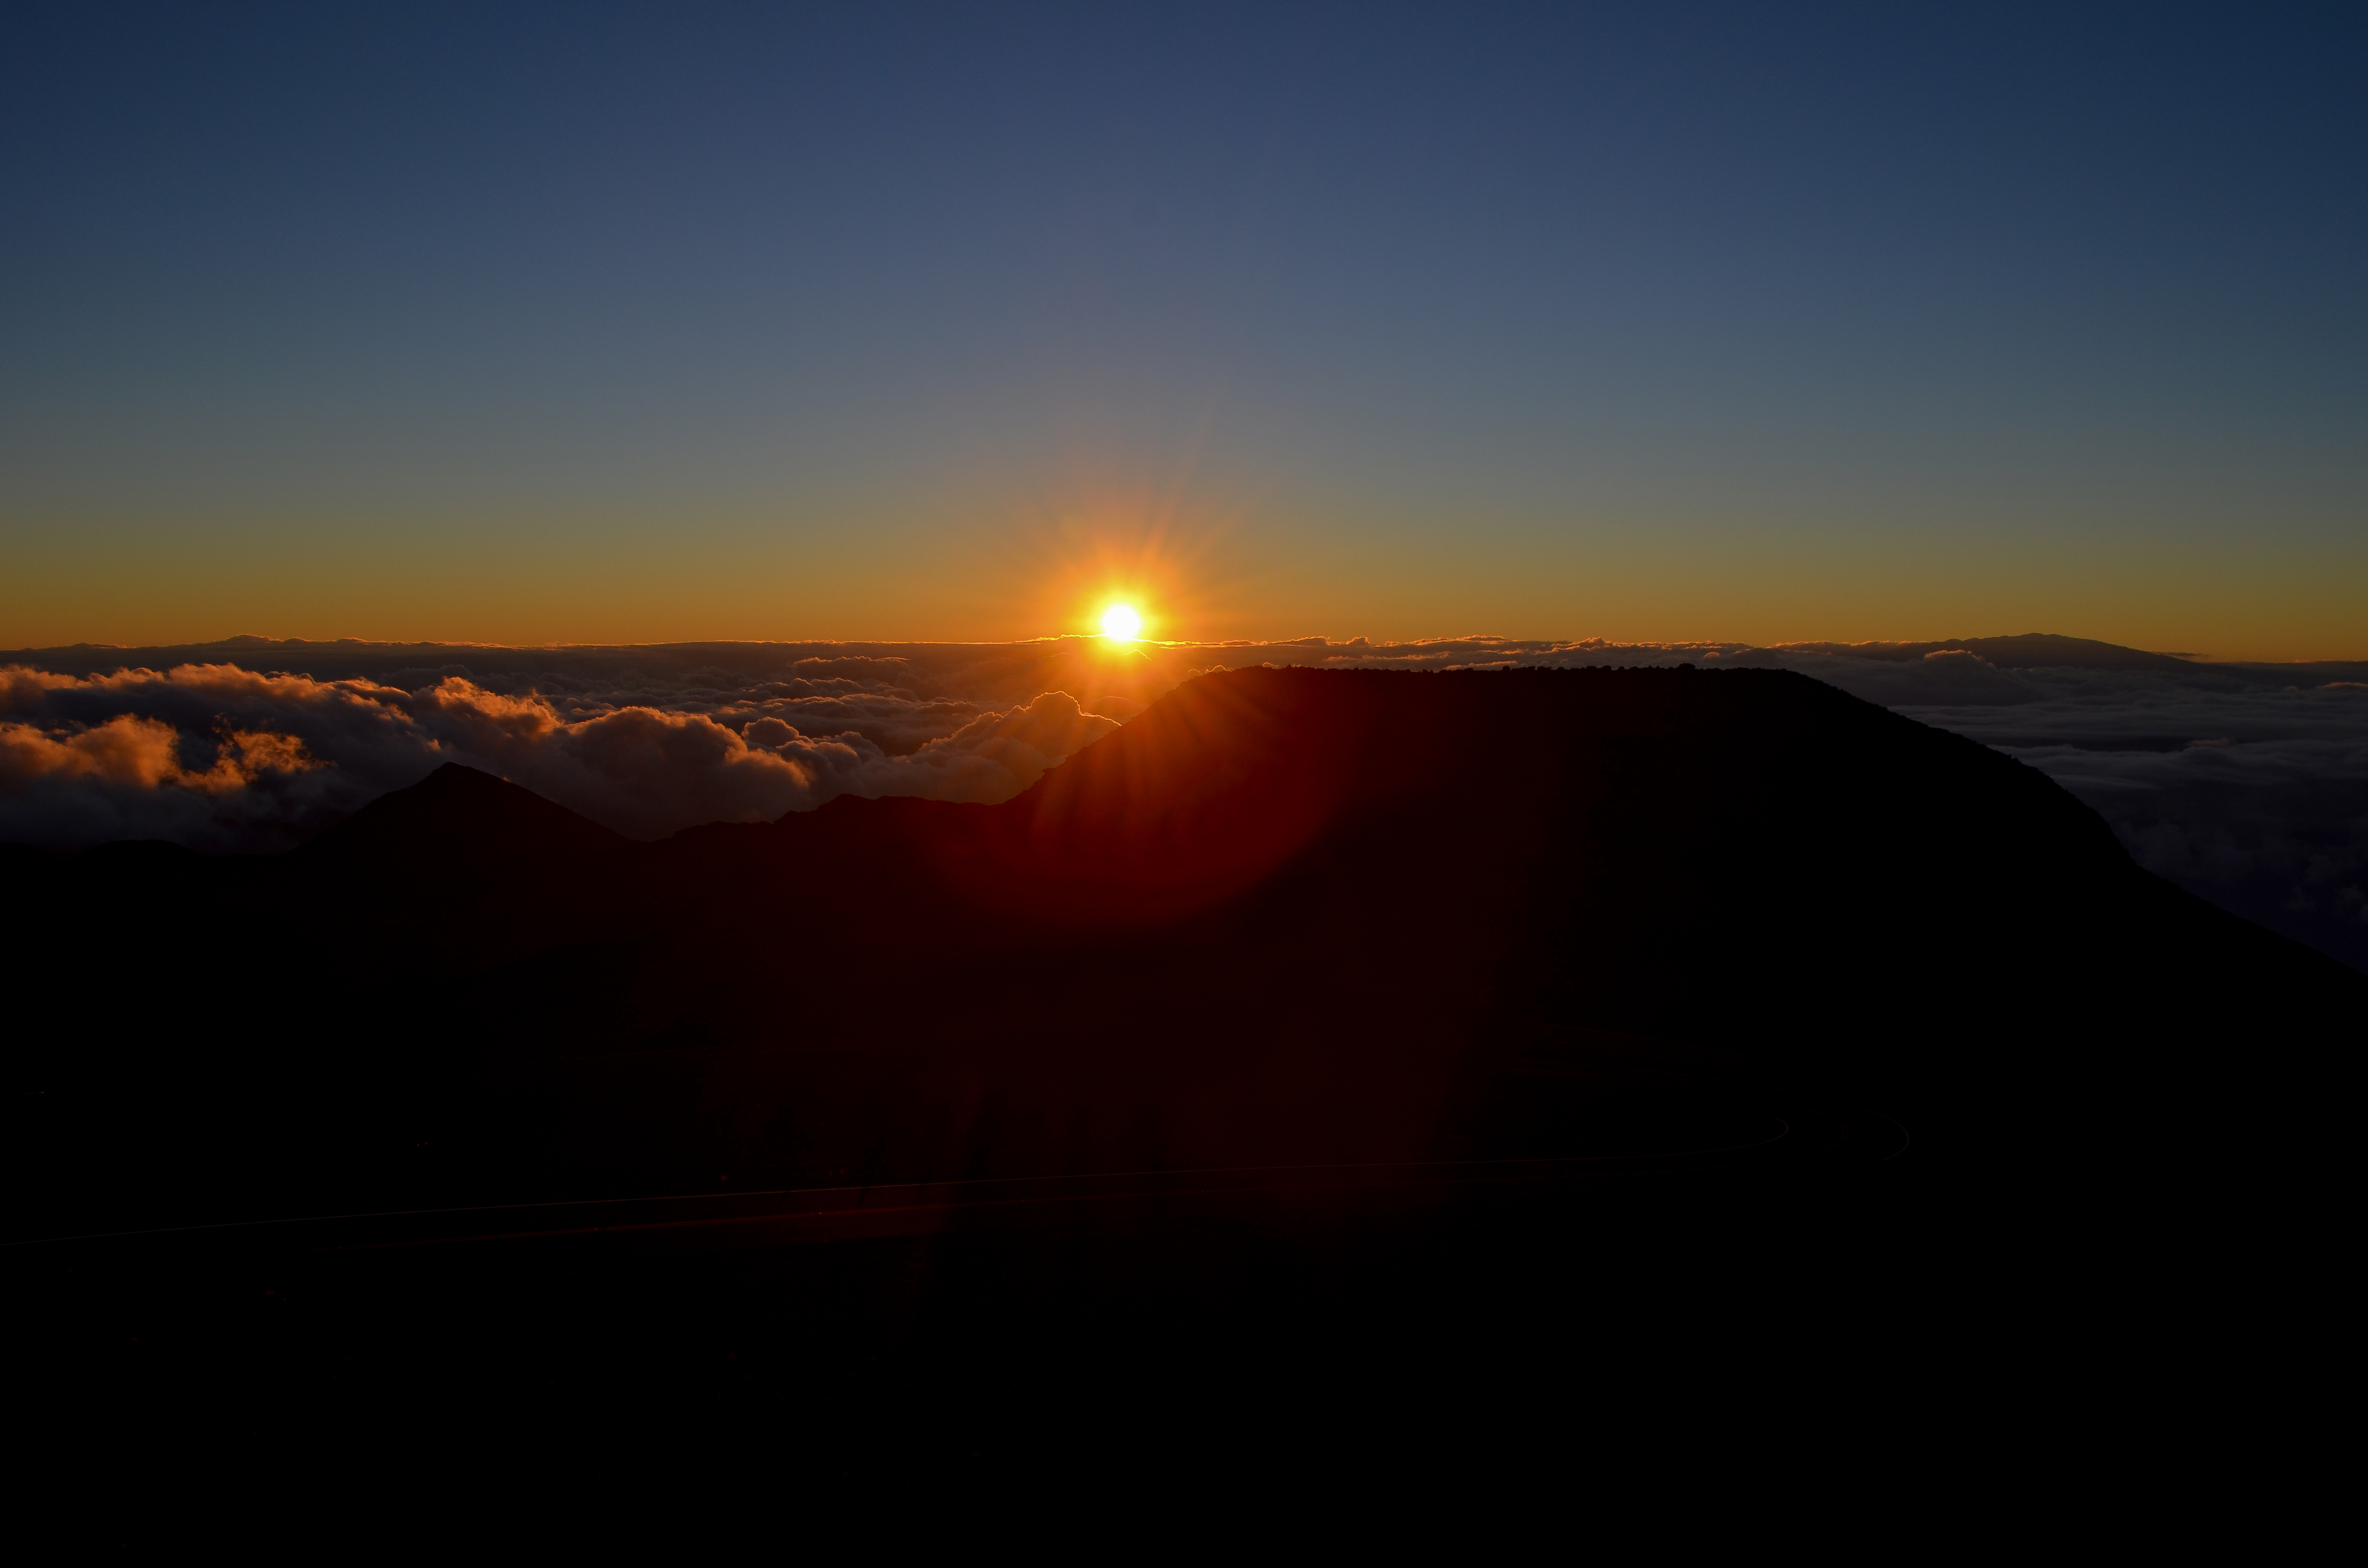

A few important things to keep in mind. When you’re at the viewpoint, you are at an elevation of about 10,000 feet. Not only is it cold, it is very windy! You will need a warm jacket and ear covers, or it won’t be pleasant. The air is obviously much thinner, so If you’re sensitive to elevation or have had trouble breathing in elevation before, please reconsider. Once you’re done with the sunrise, you can stop at other viewpoints on the way down. There are fantastic picture opportunities of the surrounding craters and landscape.

Papawai Scenic Lookout
On our way back to Lahaina, we decided to stop at the Papawai Scenic Lookout. Locals recommended this spot as a great place to watch whales from the land. During the winter months, mother humpback whales will birth their calves and teach them essential behaviors in the waters of Maui. It took a little patience, but it paid off, and we got a show of a lifetime. About 15 minutes after arriving, we noticed a water mist sprayed about a quarter mile offshore. And there it was, a baby humpback whale under the watchful eye of its mother practicing breaching behaviors. At first, the calf needed some support to breach halfway.
After about eight attempts to get halfway up, it completely breached the water. I kept my camera in rapid-fire mode and was fortunate to capture a memorable moment.
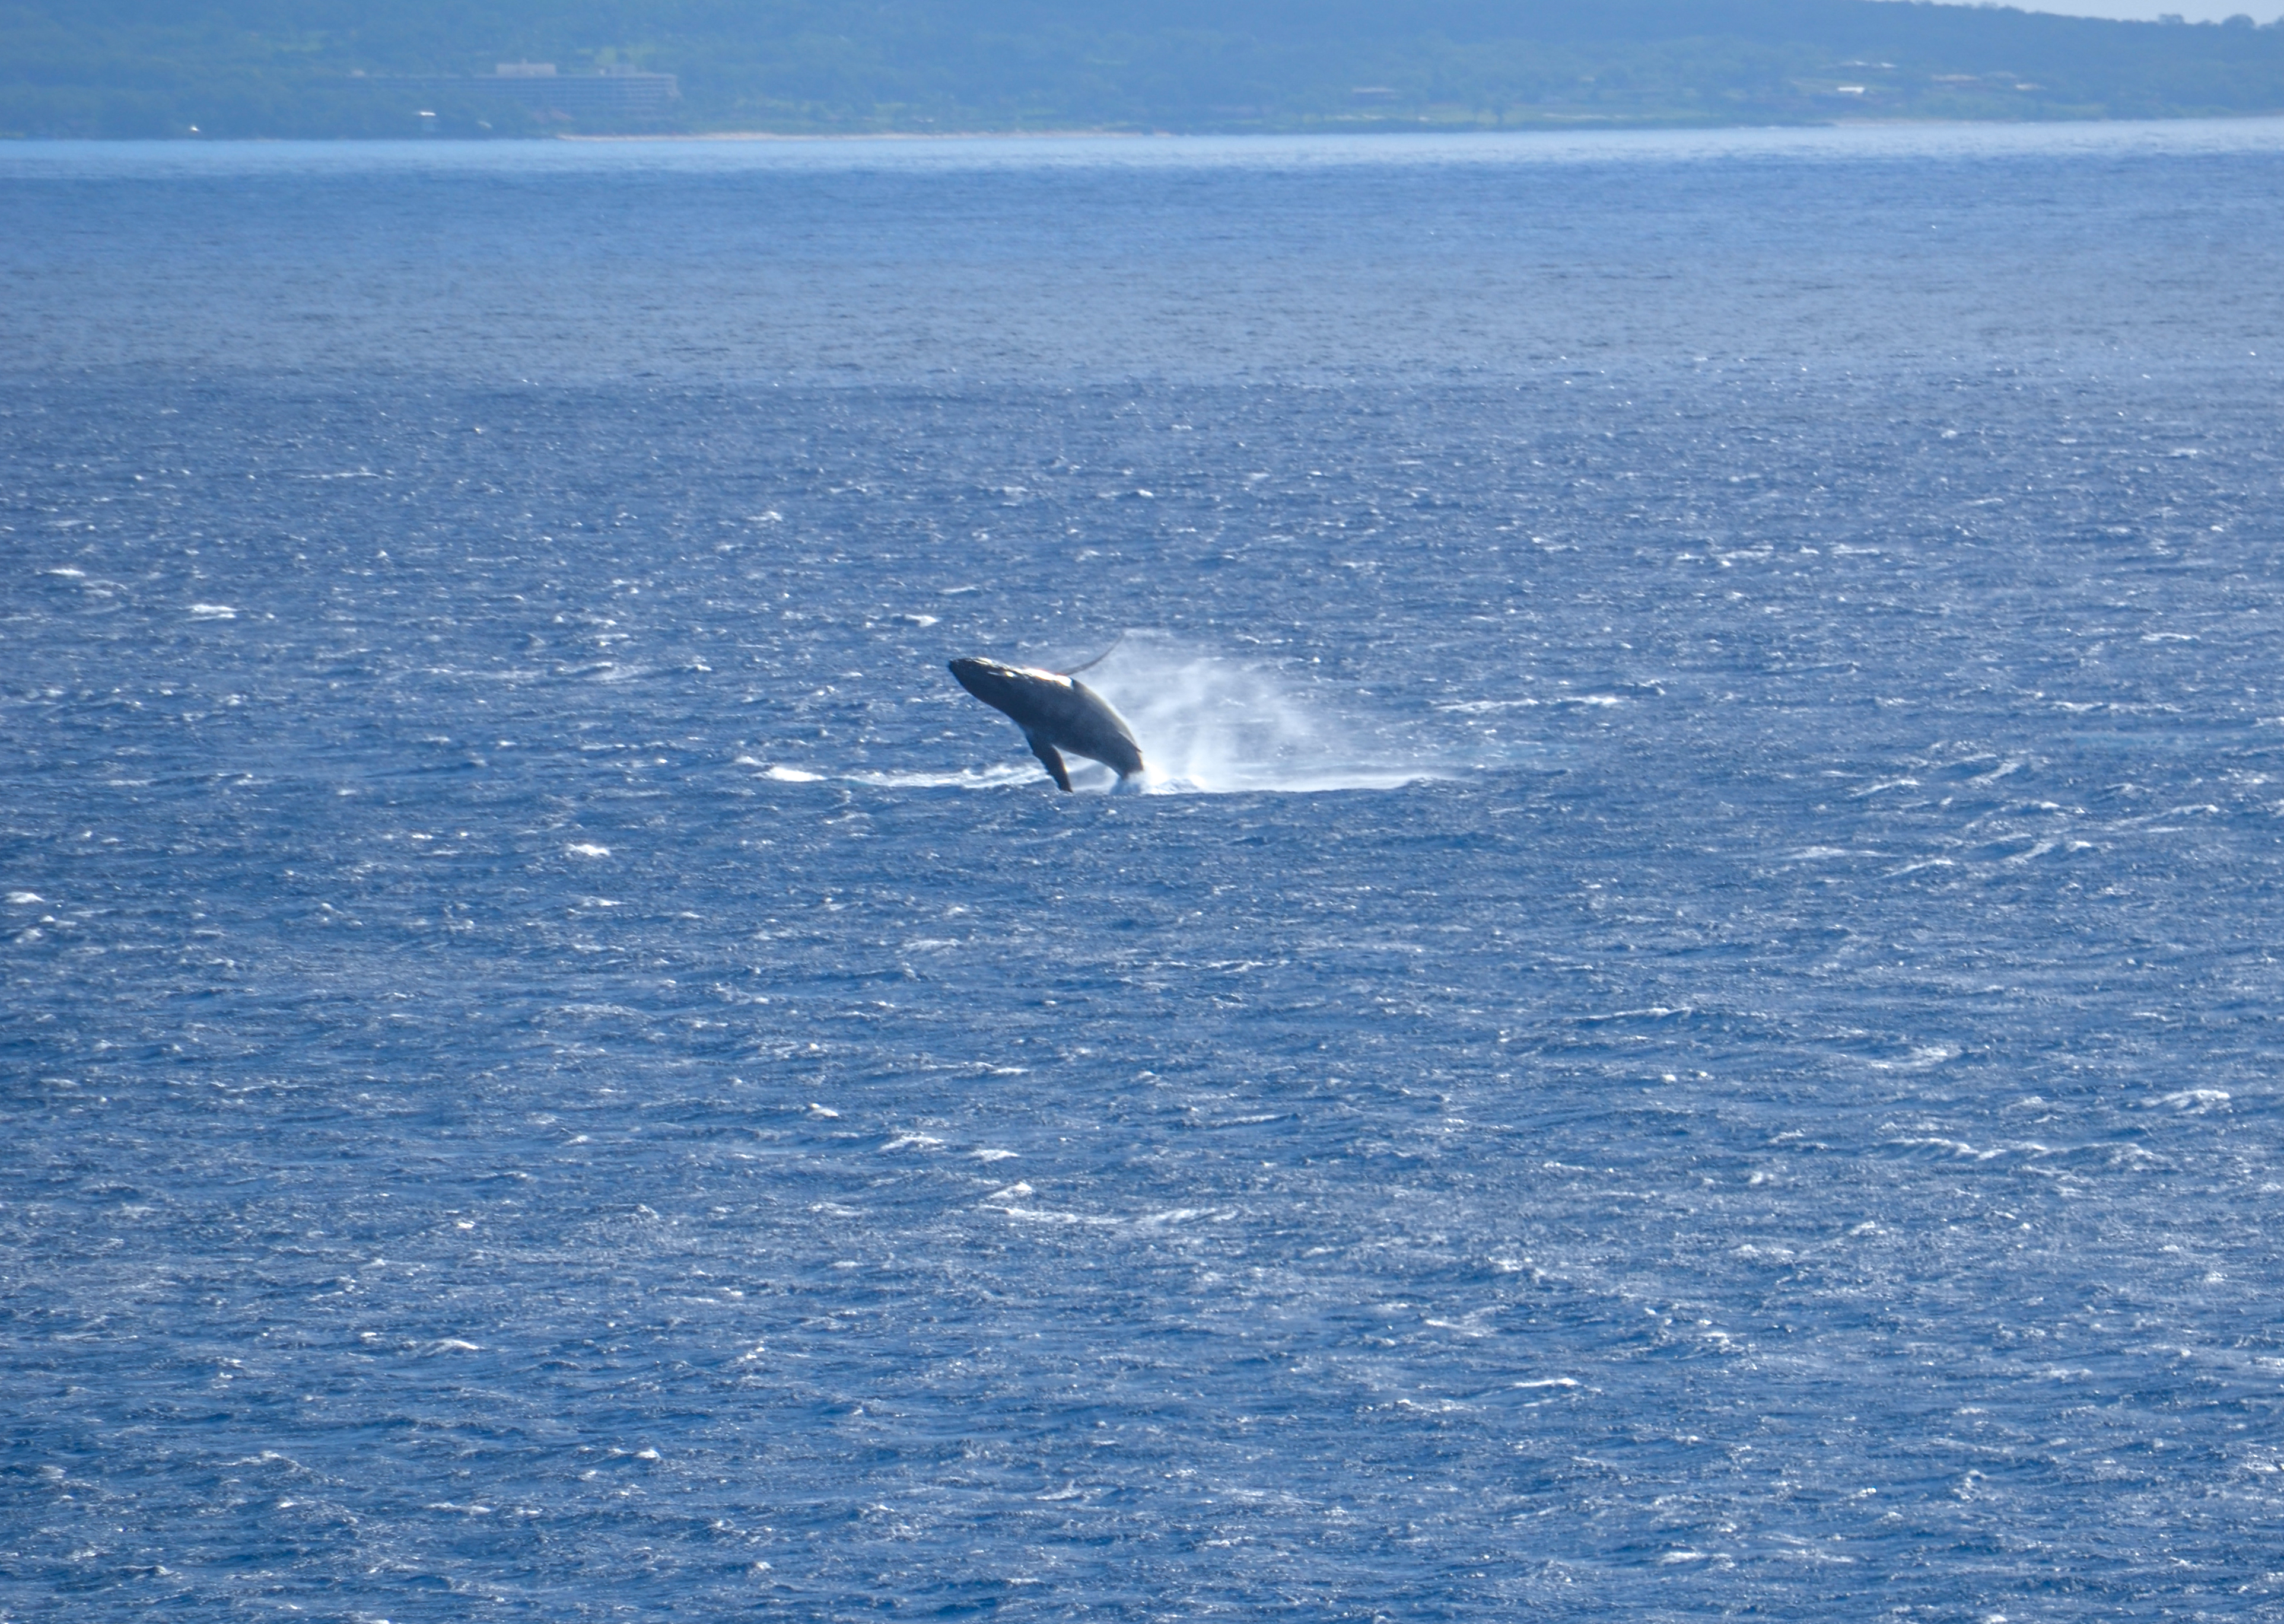
The lookout provides excellent photo opportunities even if you don’t see whales.


At night, we walked around Lahaina Town and stumbled upon one of the best ice cream shaves we ever had. It’s called Ululani’s Hawaiian Ice Shave, and they have over 50 flavors. I had the ‘Haleakala,’ a coconut, leche, and condensed milk mix. I wish I had taken a picture to post here, but I guarantee you’ll find whatever you want.
Day Two: Road to Hana
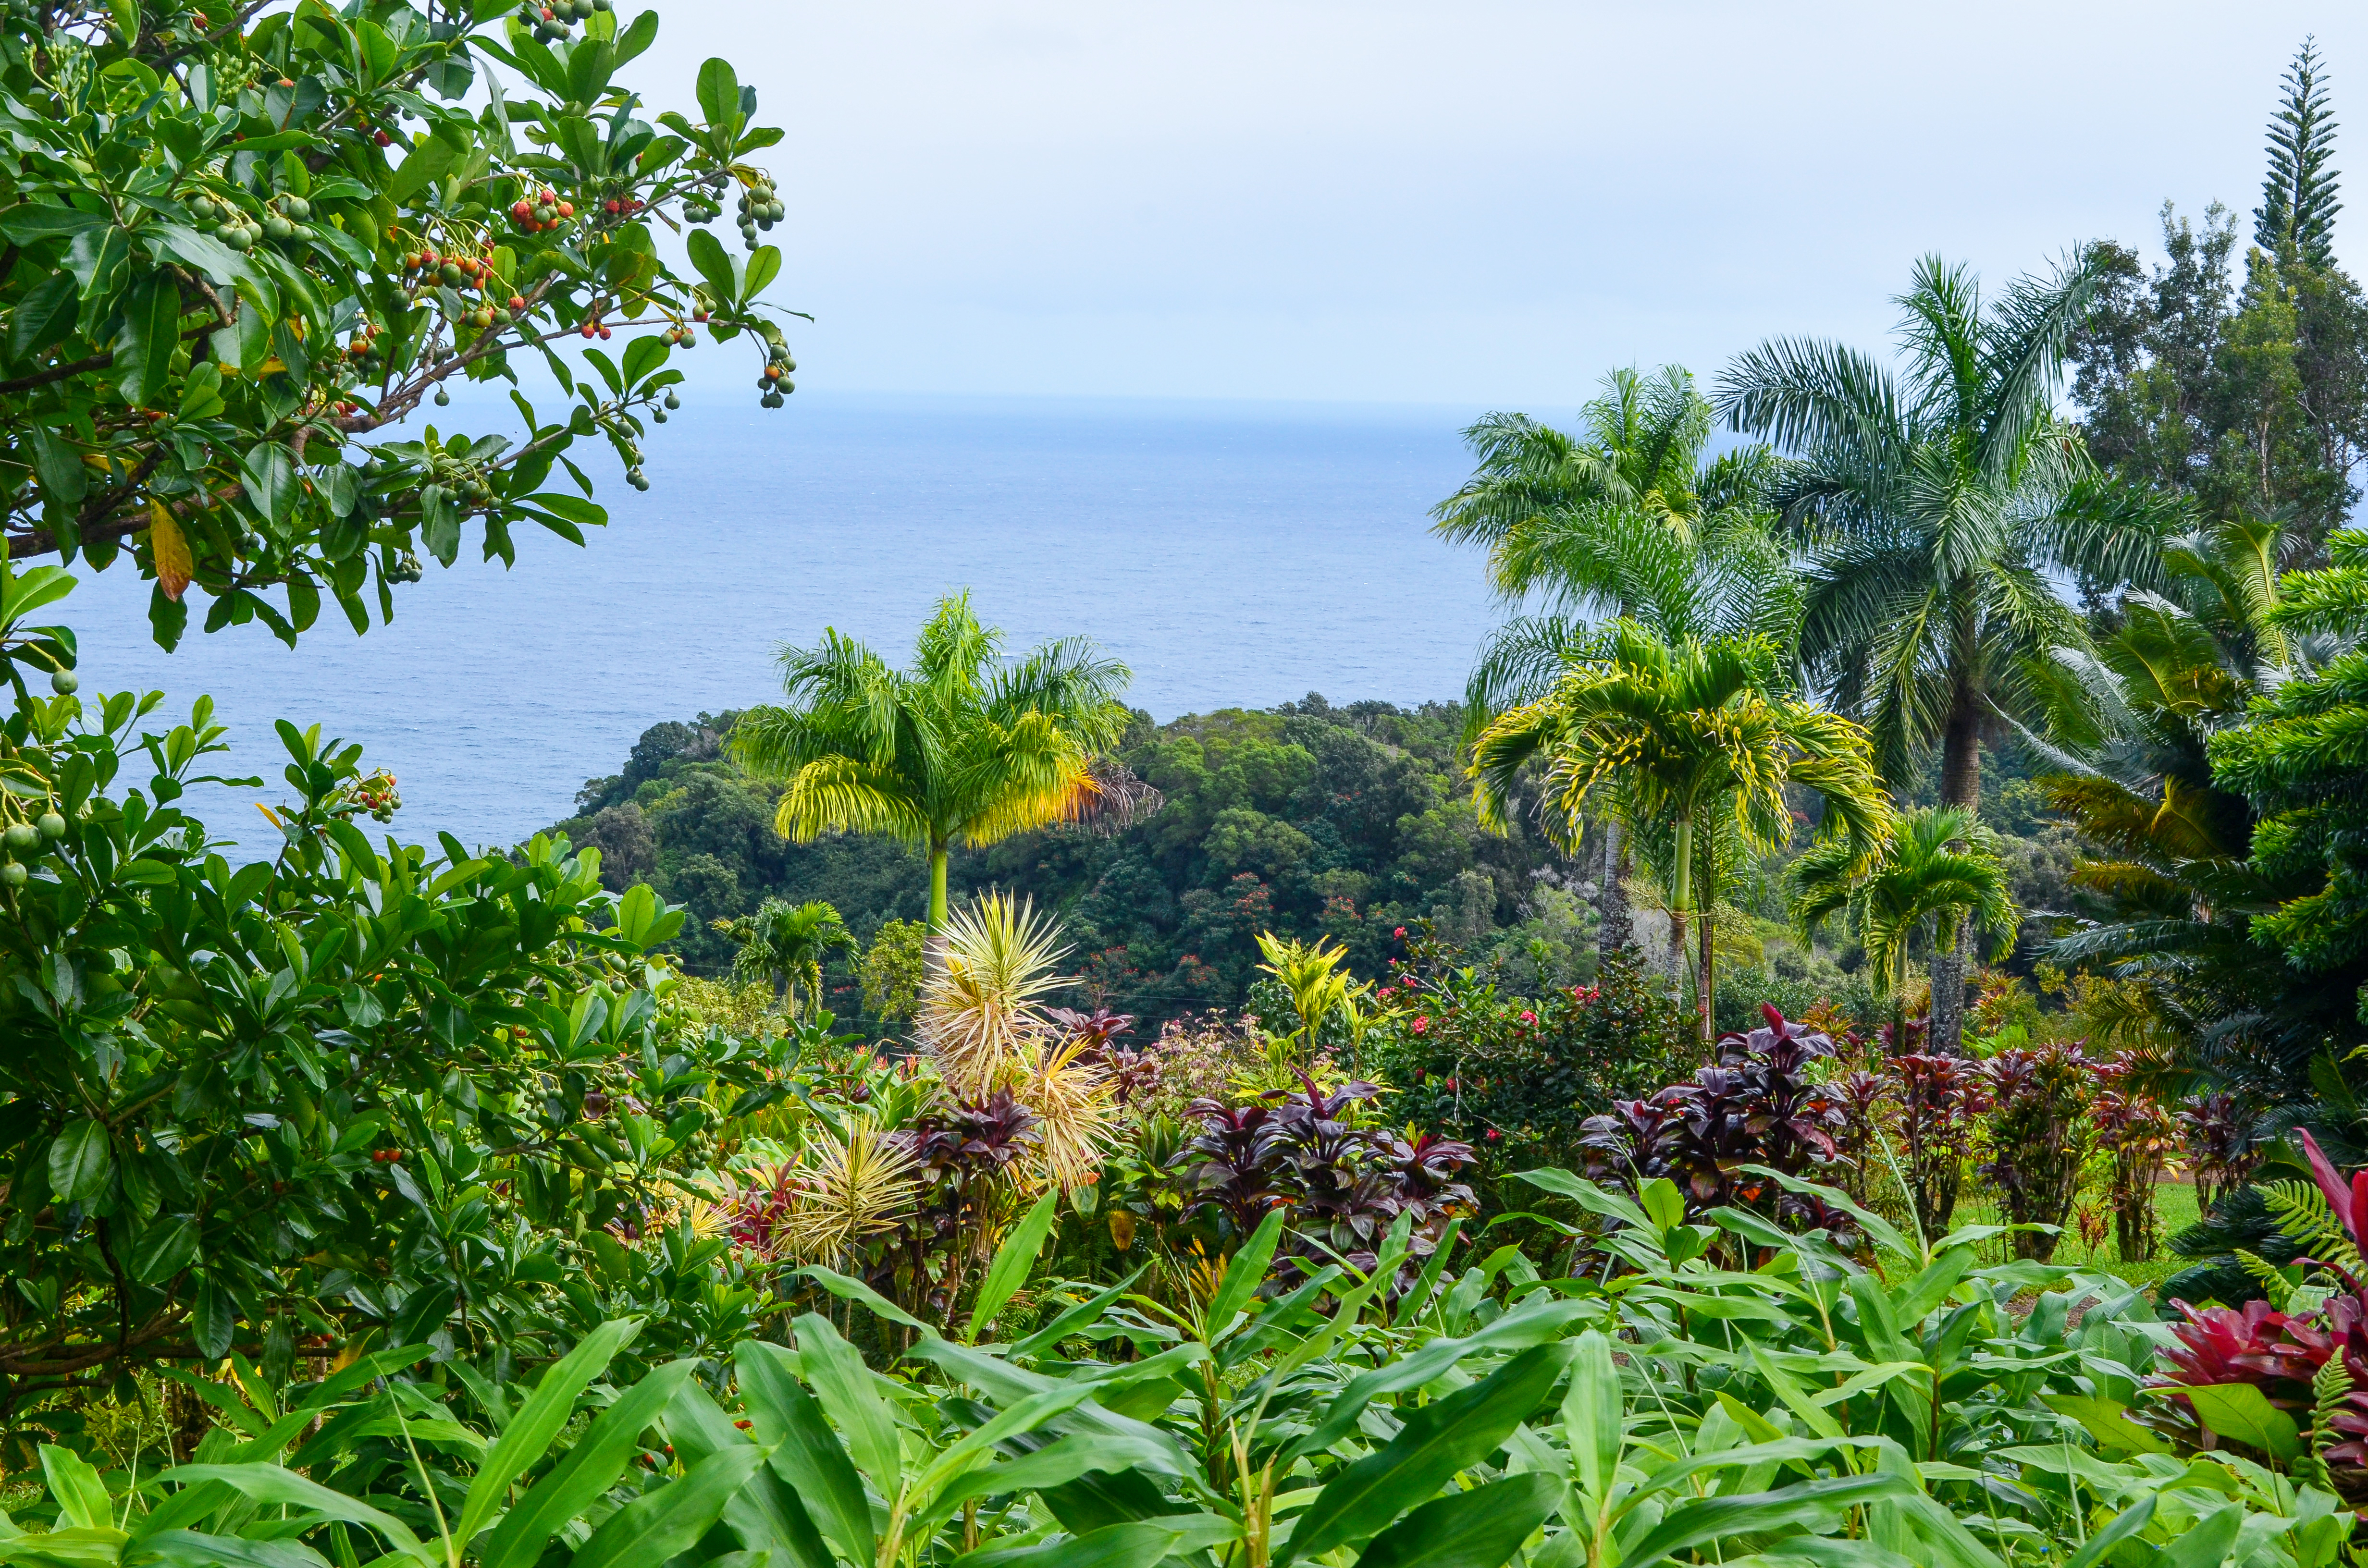
Along with Haleakala National Park, the Road to Hana is another excursion you simply cannot leave Maui without experiencing. It has black sand beaches, waterfalls, bamboo forests, flower gardens, and breathtaking ocean views, and it was one of the highlights of our stay in Hawaii. The Road to Hana from start to finish is about 52 miles. It is a journey that will take most of the day if you factor in the time you will stop at various stopping points. There are over 600 hairpin turns and 54 bridges (46 of which are one-lane), and you will have to concentrate while driving as the roads can get very narrow at certain points. My wife and I had a rental car, so if there were certain stop points we liked better, we could spend more time. You can take a tour bus, but then you’re on their time. If you are driving there, fill up your tank before you start. The last town before starting this journey is Paia, and the gas prices there are high. You’re better off filling up in Kahului. There no gas stations between Paia and Hana. If you are driving yourself, I highly recommend downloading Gypsy Guide – Road to Hana on your iPhone or Android.
It cost me $5, the best $5 I have ever spent on a narration app. The app will recommend which points of interest are worth stopping for, which don’t require much time, and which should be skipped altogether. It felt like we had an actual person with us, and the app even told us about approaching food shacks and cafes. The great thing about this app is that it worked even when we lost data connectivity. On the way back, the app tells you more about the cultural significance of different points in Maui. These are the places we stopped in chronological order:
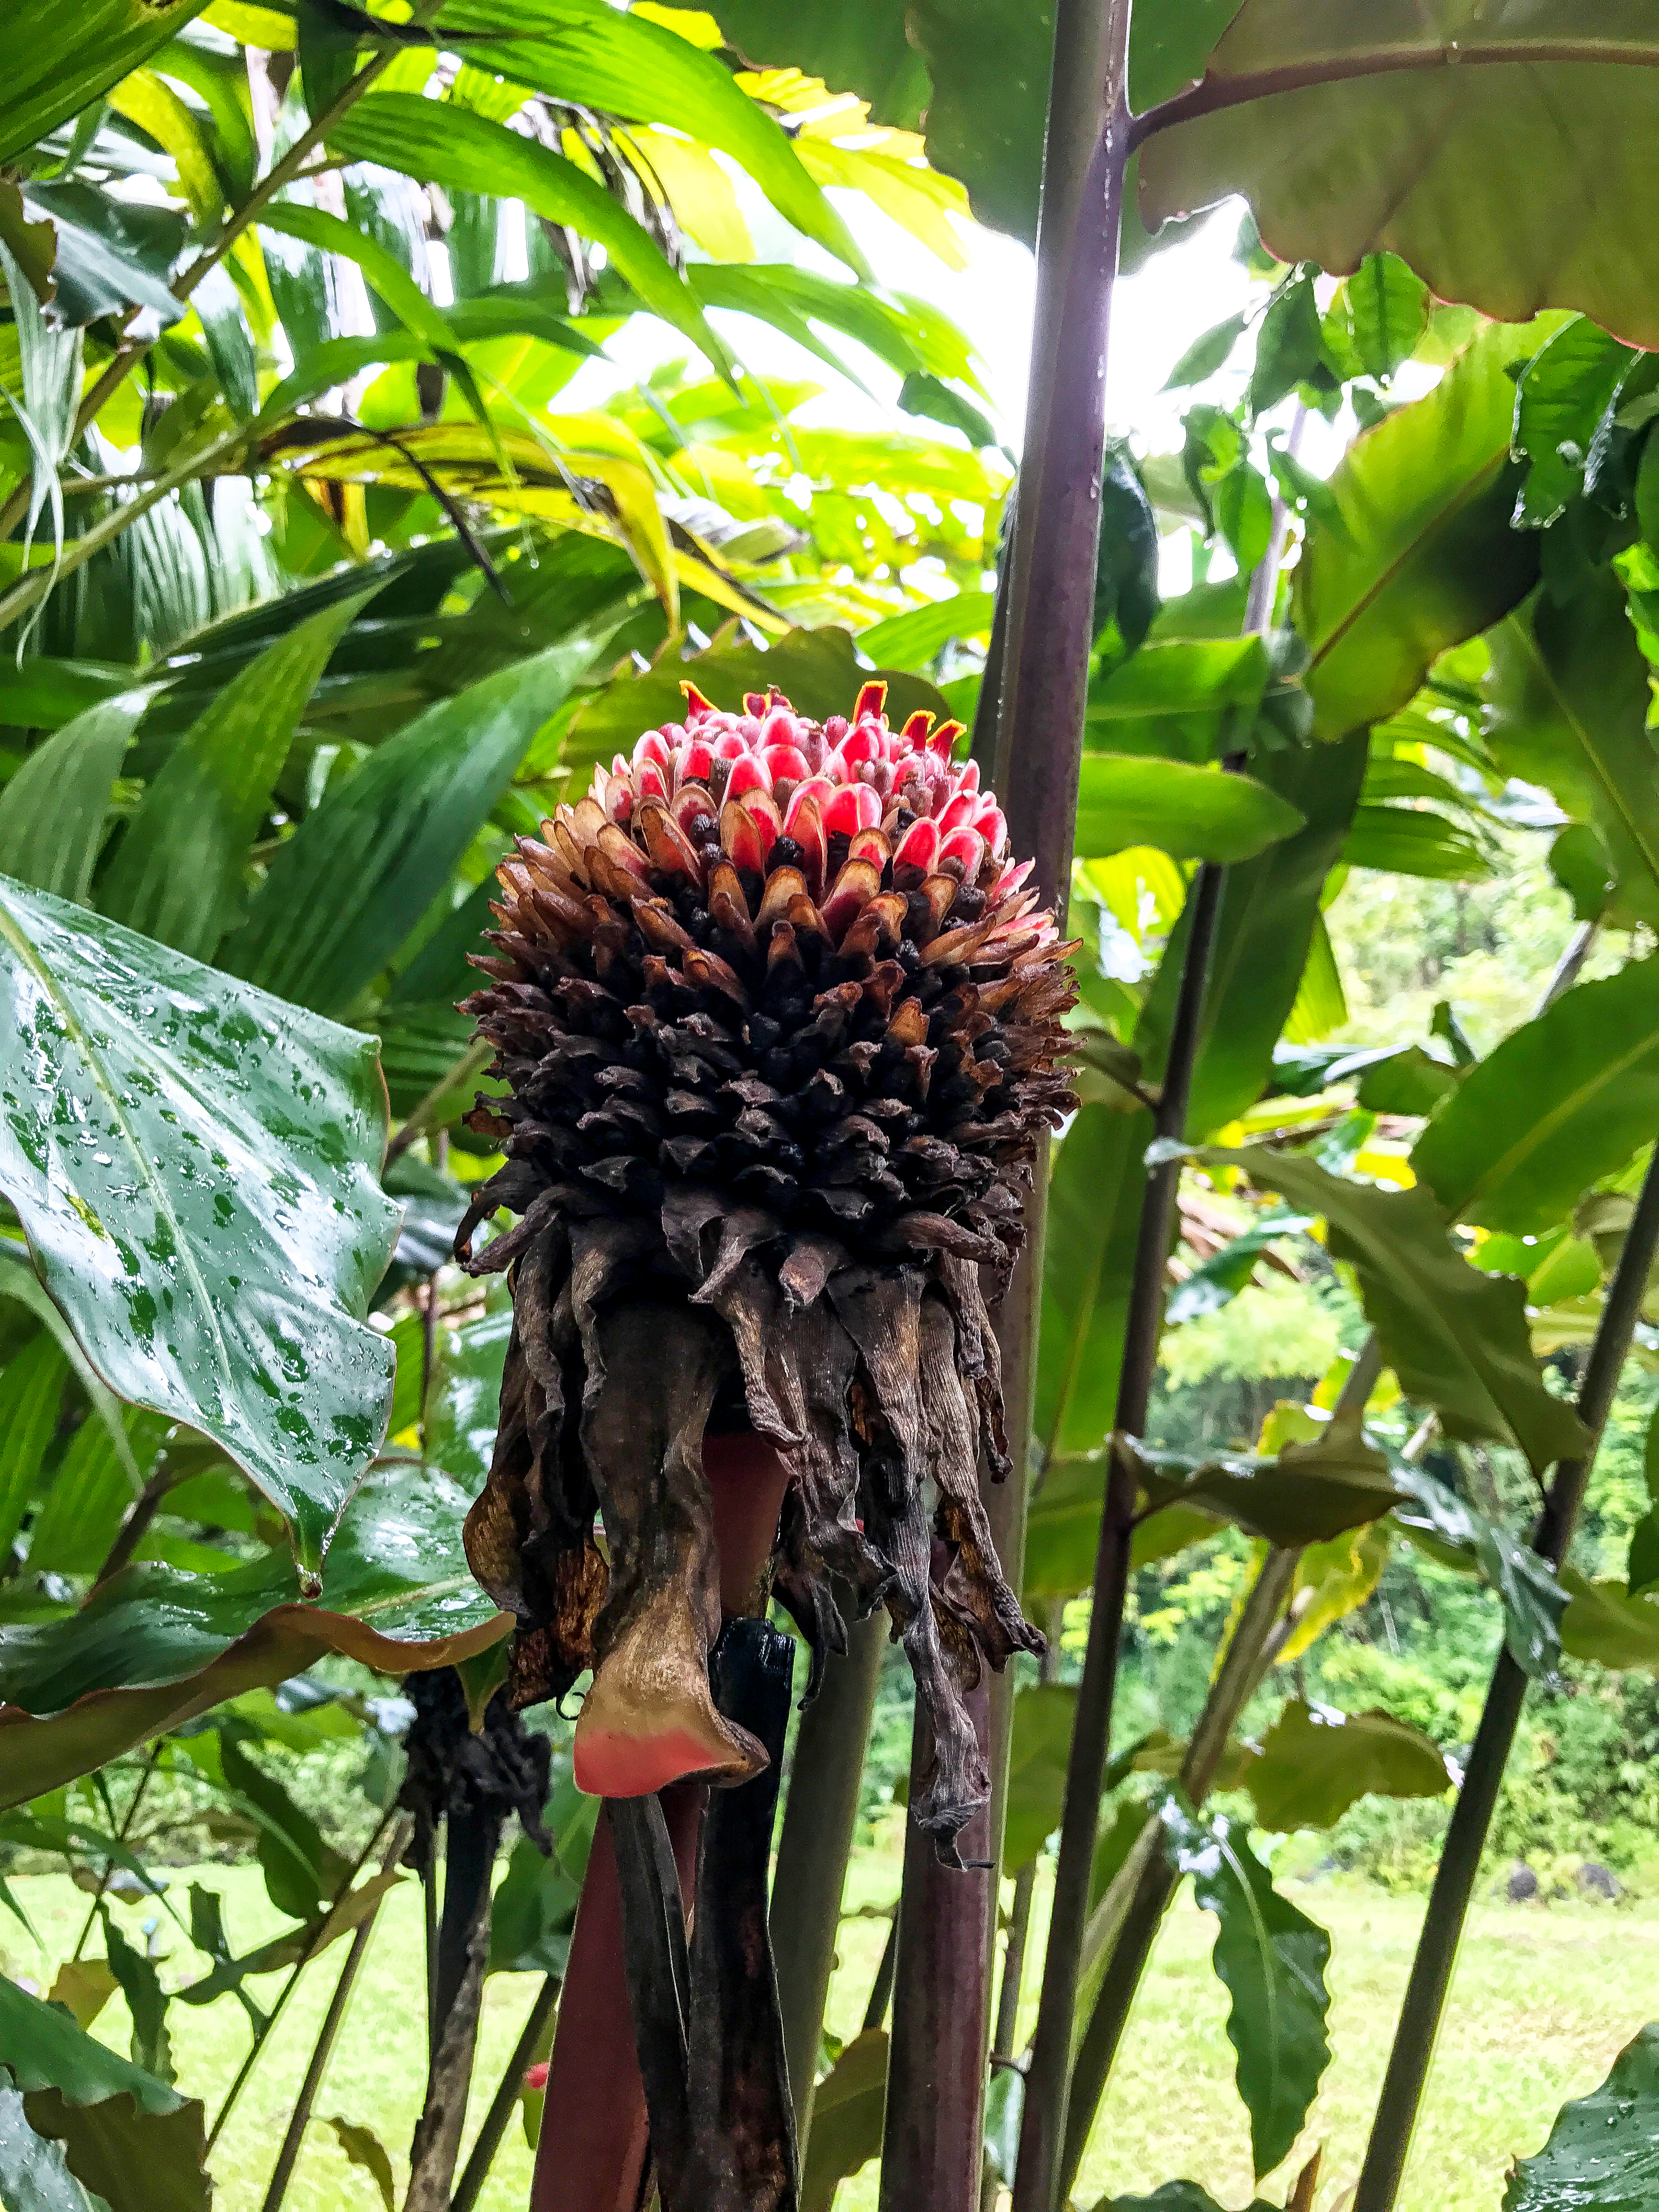
1. Garden of Eden Arboretum
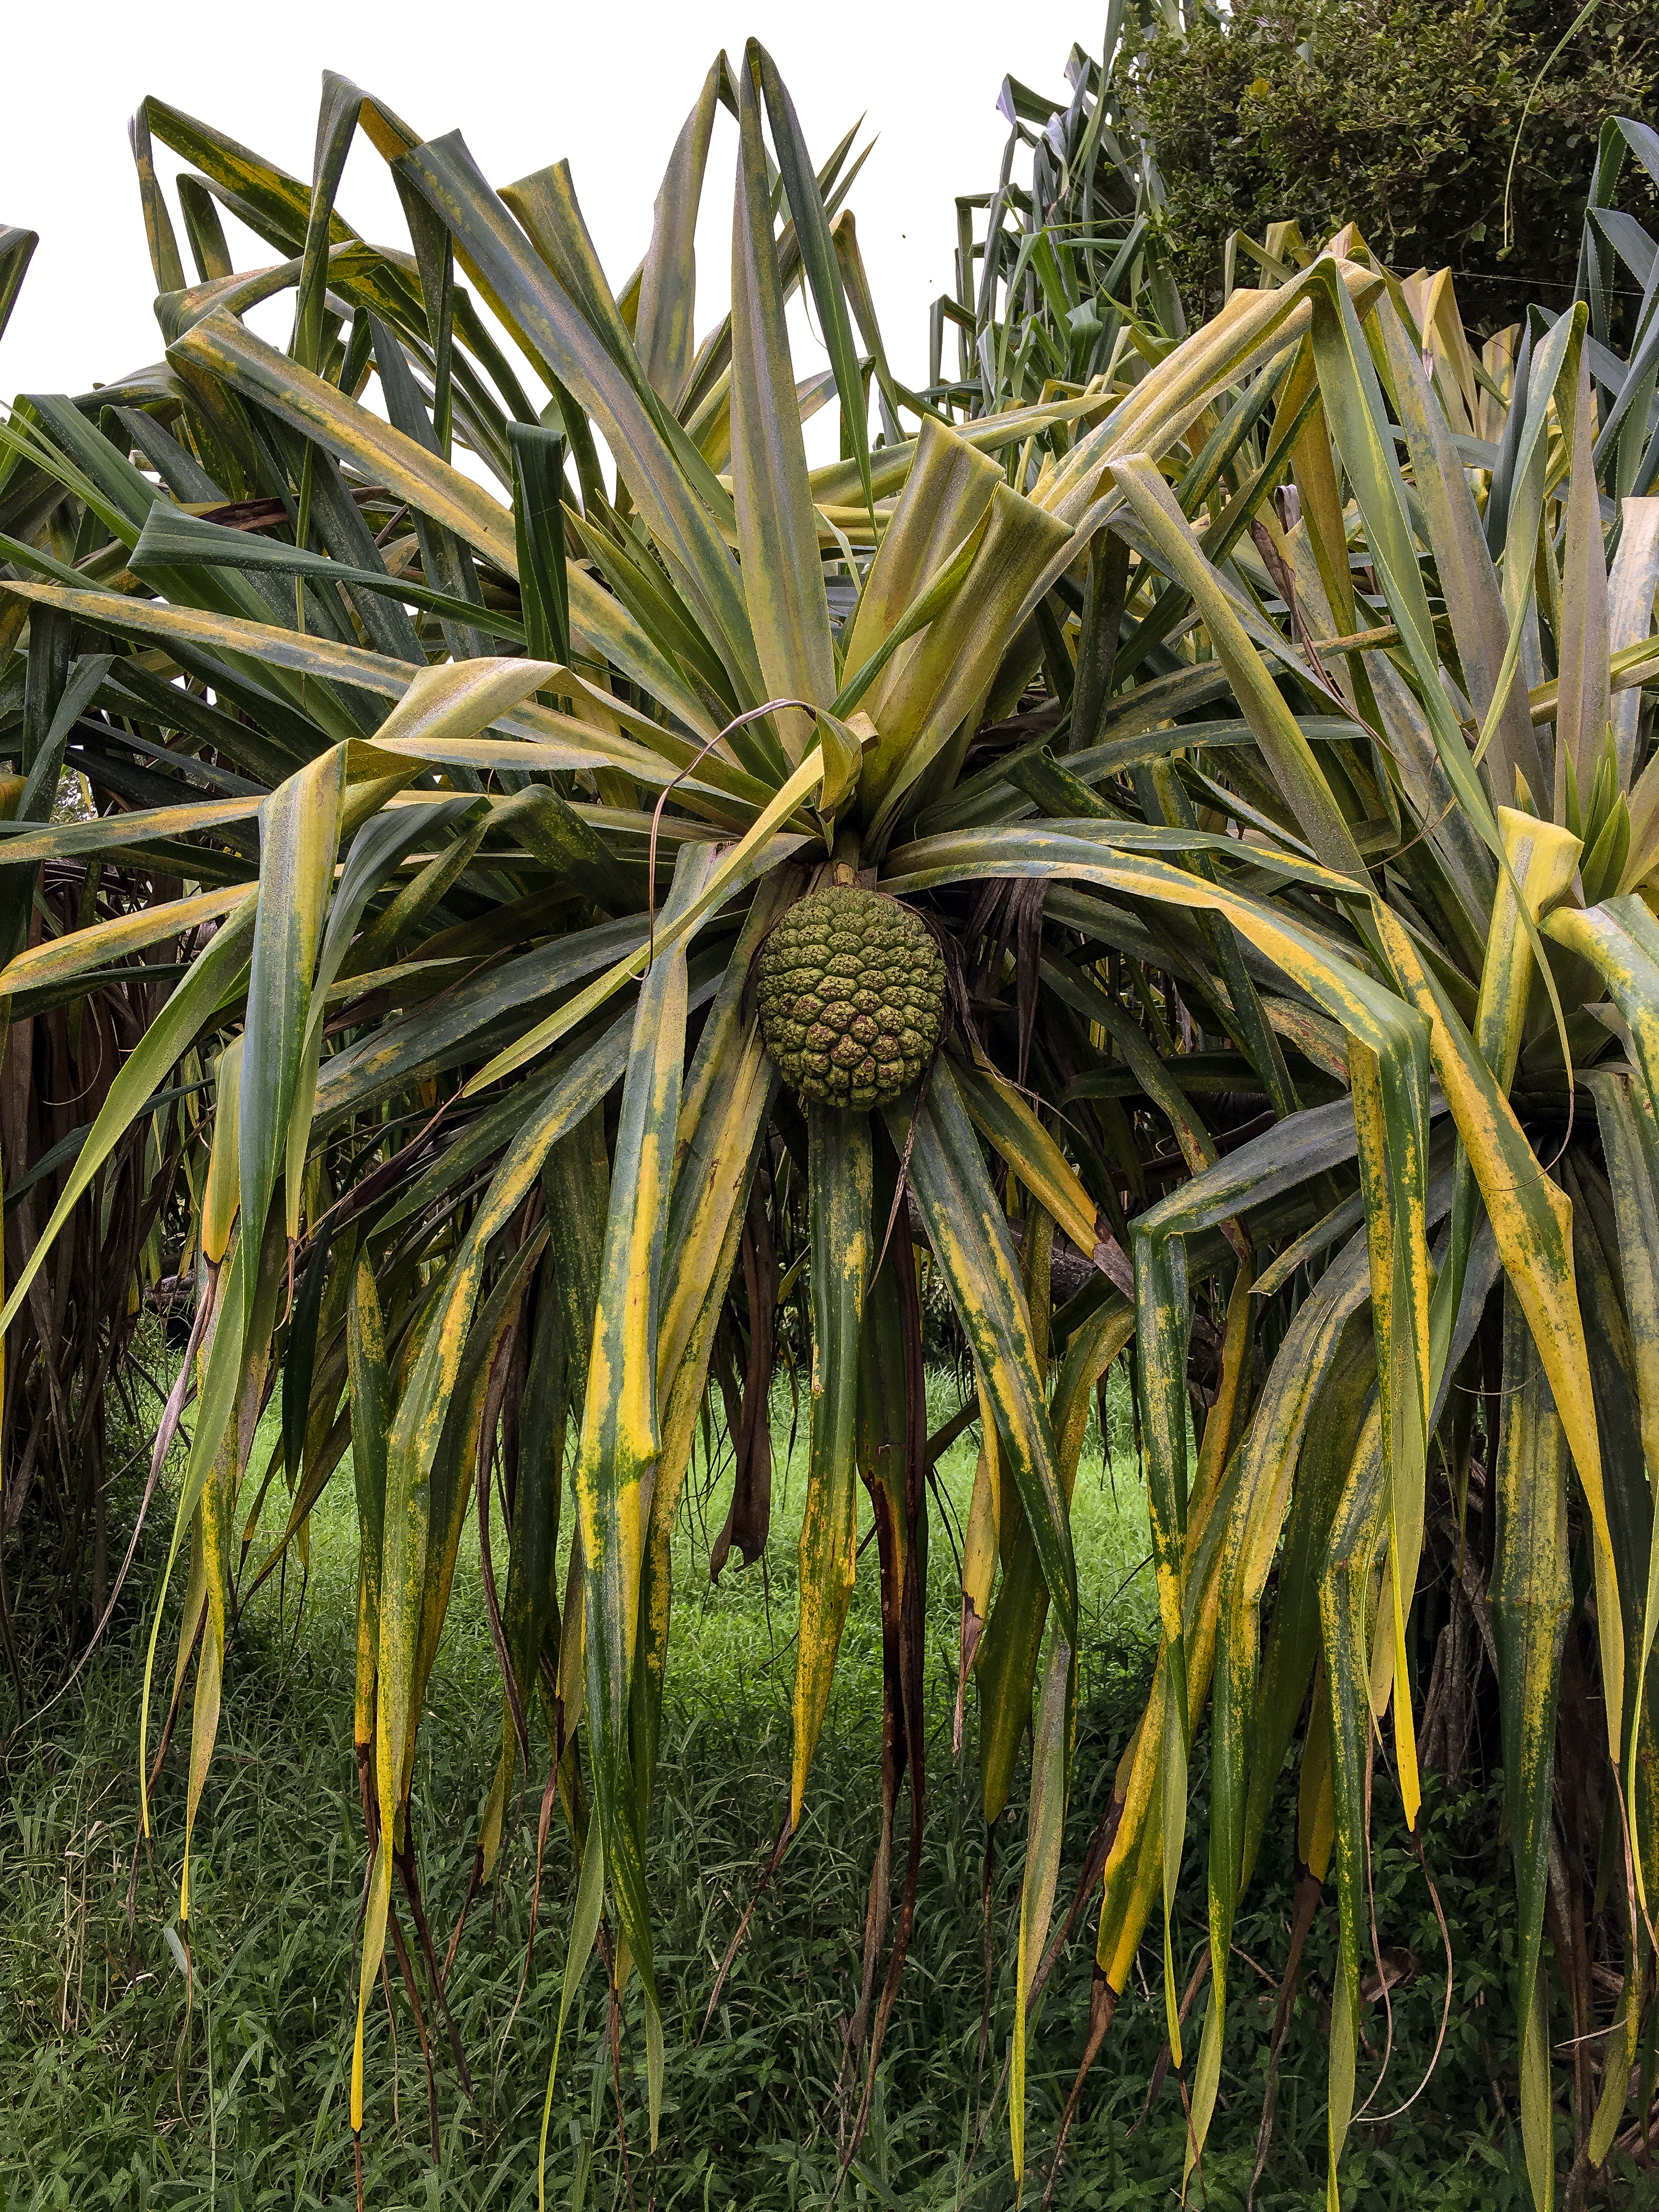
This is one of the only points of interest on the Road to Hana, where you have to pay to get in since it is privately owned. The cost is $15 for adults, $5 for children, and infants are free. They do offer student and AAA discounts. My wife and I found it worth it, and you can budget about 30 minutes here. They have numerous native and indigenous plants, many of which you might have never seen, and they also offer some great photo opportunities. The garden also has a smaller waterfall, and you’ll see peacocks on the premises.
2. Waikamoi Ridge Trail
This was a hike that really stimulated your senses. The best thing about this trail? There are mango trees all around, and it smells like heaven. They also have one of my favorite trees, the rainbow eucalyptus tree, which looks like the bark has been colored by a pastel. The trail can get extremely muddy, so if you’re wearing flip-flops or don’t want to get your shoes destroyed, it wouldn’t be a bad idea to skip this and spend more time at Twin Falls (which we skipped).

3. Halfway to Hana Stand

They’re known for their banana nut bread, which is delicious. I wouldn’t recommend stopping here if it wasn’t worth the hype. It won’t take long, and you can park on the side of the road.
4. Upper Waikani Falls
There is only room for a couple of cars on the side of the road to see this trio of waterfalls, but they are undoubtedly beautiful and worth stopping at if parking is available.

4. Nahiku Market Place
Two words: fish tacos. This was the perfect place to have lunch. The fish tacos were super fresh and delicious. I wish I had a picture, but I inhaled them before realizing I’d forgotten.
5. Wai’anapanapa State Park
This is one of the places where you absolutely have to stop. It is a beautiful black sand beach with an abundance of volcanic rock. There is also a cave that takes you to the waters, where you can go for a swim. The waves are powerful, so keep that in mind. We spent a solid hour here and honestly wished we could have spent more. As of 2022, you must reserve a time to visit this beach.


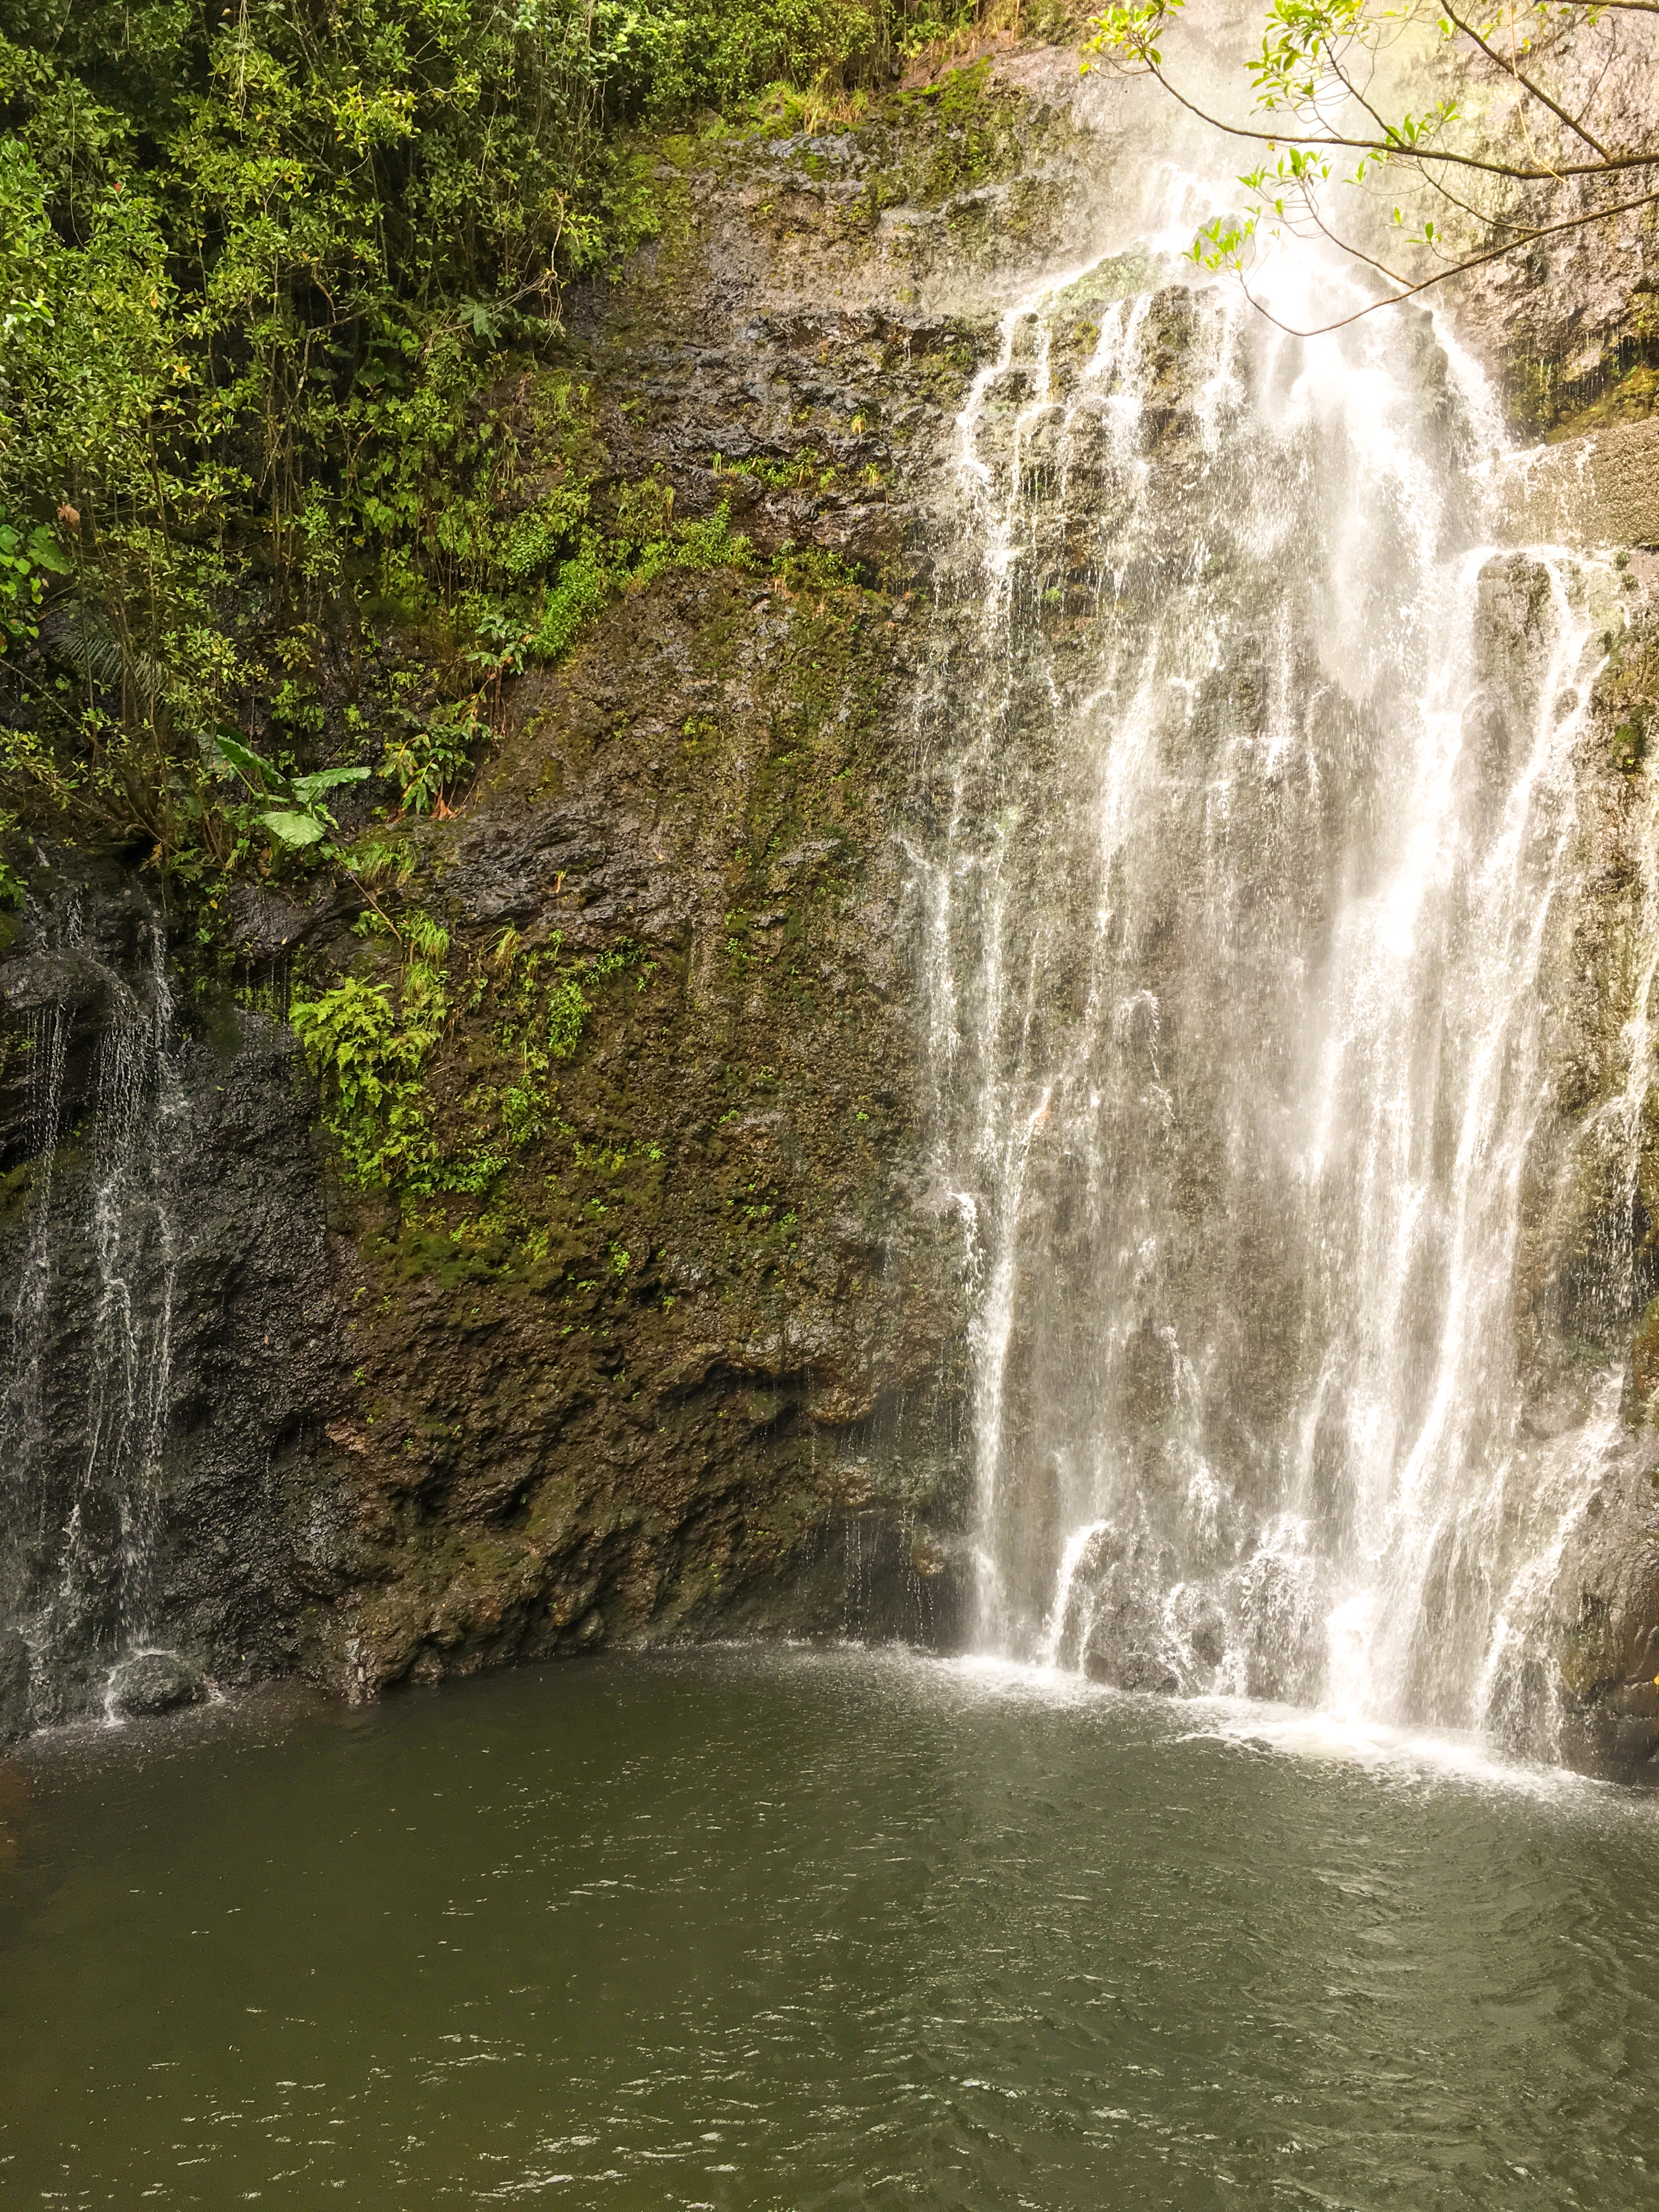
6. Wailua Falls
Another point of interest that you should definitely stop by is that you can park on the side of the road and walk down to the base of the falls. I even saw a few people swimming near the base who seemed comfortable doing so. I don’t know how deep it is, so please be cautious if you go in the water. It’s a beautiful waterfall and probably the largest one on The Road to Hana.

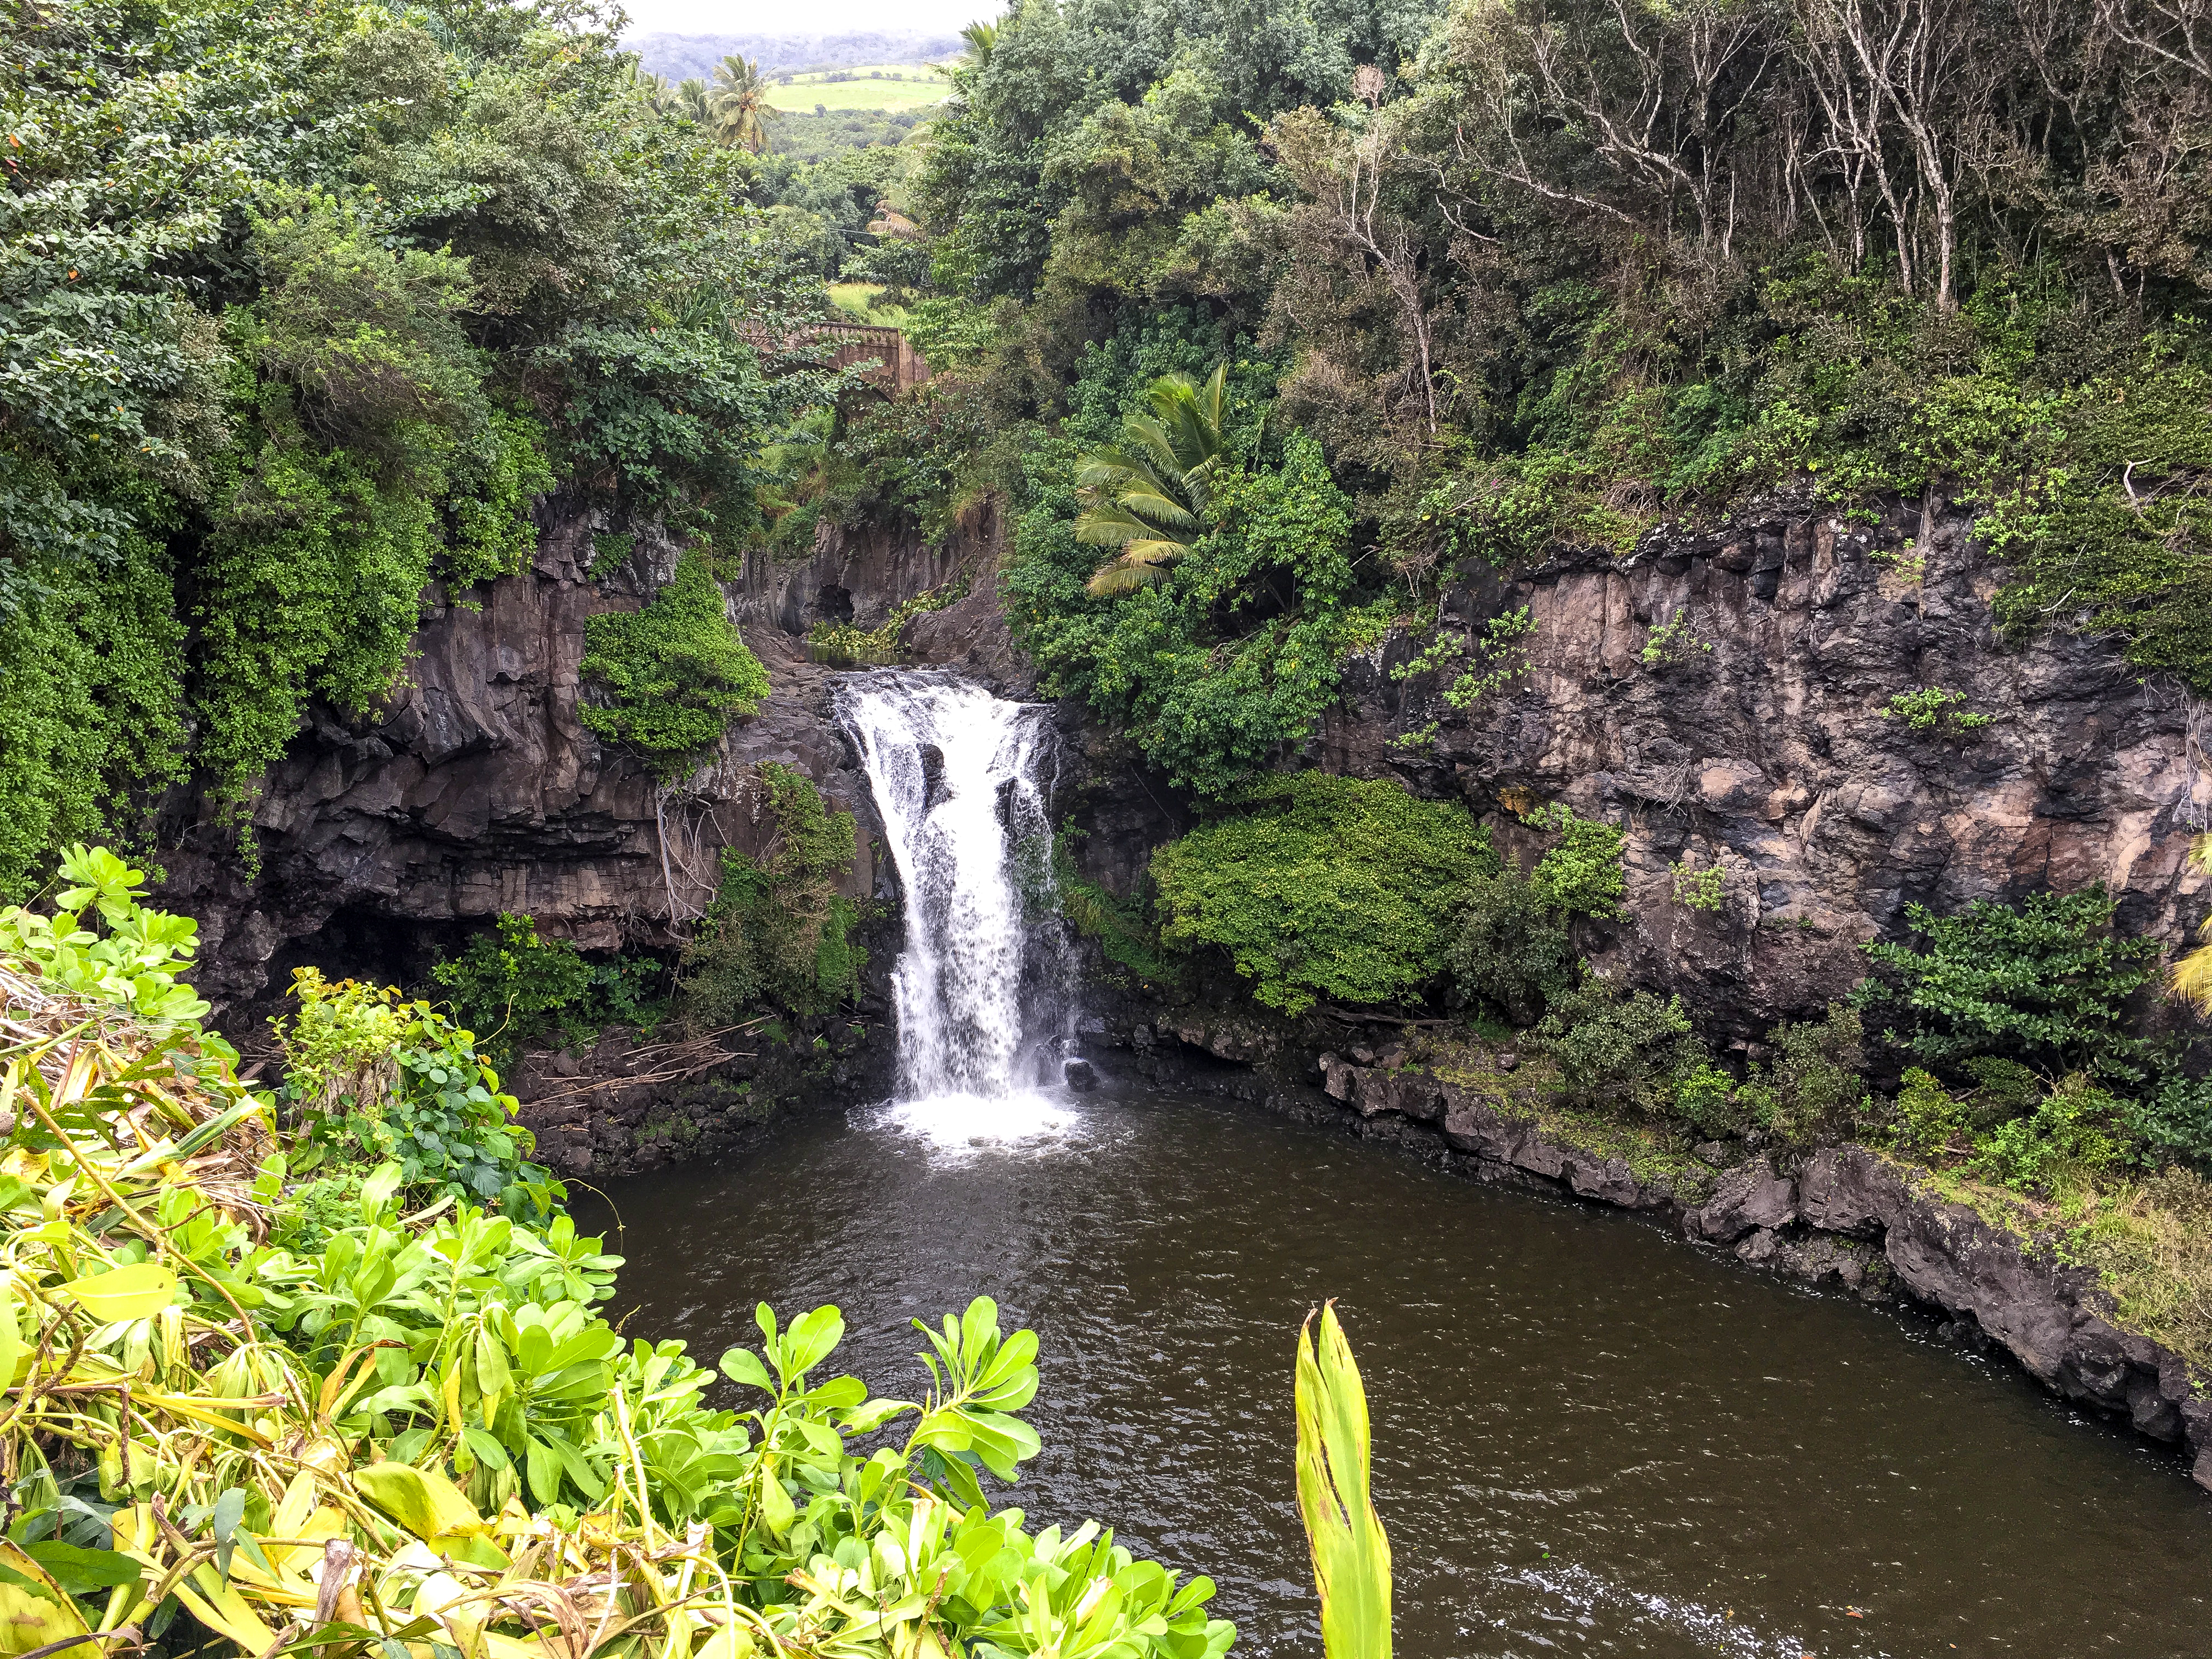
7. Oheo Gulch (7 Sacred Pools)
This was our last stop on The Road to Hana. Unfortunately, due to mudslides, access to these pools was closed during our visit to Maui. We could see some of the falls from the trail, but no one was allowed to swim at the base. Oheo Gulch is located 15 minutes past the town of Hana. Here are significant details to keep in mind. If you go beyond this point in your rental car and if something terrible were to occur, your insurance becomes void! Even your credit card coverage would be voided. The road beyond this point is mostly gravel and dirt; the major rental companies have written this out explicitly in the contract agreement. Many tourists will risk it because some beautiful sites exist beyond Oheo Gulch. But even something as minuscule as a flight tire means you’re alone.
Day Three: Napili Bay
Maui has plenty of amazing beaches where you can spend your day. You can even go beach hopping and taste almost all of them. Since our hotel was at Napili Bay, we decided to spend the day on the beach. This was an excellent spot for snorkeling and seeing marine wildlife. I saw plenty of colorful fish and was lucky enough to see a few sea turtles, one of which was getting by with a missing flipper. You can see the video below.

If you are in the Lahaina area, I recommend stopping by Gazebo Restaurant for breakfast. Their white chocolate macadamia nut pancakes with homemade whipped cream were terrific, and they were also very generous with their portions.

So, this was Maui for us in a nutshell. We wish we could have stayed longer, but that meant subtracting a day from Kauai. We felt pretty satisfied with our three days here (excluding travel) and thought we accomplished almost everything we wanted to achieve. If you continue reading about Kauai or the Big Island, scroll to the top of this page, and you will find the links. Thank you for reading.